Local deployment
Cafeteria can be built and run locally by following the steps below.
1. Setup environment variables
Copy .env.example to .env and fill in the environment variables.
Next.js variables:
NEXT_PUBLIC_SERVER_URL: The URL of the server. If you deploy the server to Vercel, you can use the URL of the server. If you deploy the server to another platform, you need to use the URL of the server.NEXTAUTH_URL: The URL of the client. If you deploy the client to Vercel, you can use the URL of the client. If you deploy the client to another platform, you need to use the URL of the client.NEXTAUTH_SECRET: A secret used to encrypt session data on the server. You can generate a secret usingopenssl rand -hex 64.
Firebase variables: Go to your Firebase project settings and copy the config. Then, add the following variables to the project. (See more here (opens in a new tab))
FIREBASE_API_KEY: The API key of your Firebase project.FIREBASE_APP_ID: The app ID of your Firebase project.FIREBASE_AUTH_DOMAIN: The auth domain of your Firebase project.FIREBASE_DATABASE_URL: The database URL of your Firebase project.FIREBASE_PROJECT_ID: The project ID of your Firebase project.NEXT_PUBLIC_FIREBASE_STORAGE_BUCKET: The storage bucket of your Firebase project.FIREBASE_MESSAGING_SENDER_ID: The messaging sender ID of your Firebase project.
Google OAuth variables: Go to the Google Cloud Console (opens in a new tab) and create a new project. Then, enable the Google OAuth API and create a new OAuth client ID. Finally, add the following variables to the project. (See more here (opens in a new tab)).
NEXT_PUBLIC_GOOGLE_LOGIN: Enable Google OAuth login.GOOGLE_ID: The client ID of your Google OAuth client.GOOGLE_SECRET: The client secret of your Google OAuth client.
VietQR variables for online payment: Go to the VietQR (opens in a new tab) and create a new account. Then, create a new merchant and add the following variables to the project.
NEXT_PUBLIC_VIETQR_MERCHANT_ACCOUNT_NAME: The account name of your VietQR merchant.NEXT_PUBLIC_VIETQR_MERCHANT_INFO_PREFIX: The prefix of your VietQR merchant.NEXT_PUBLIC_VIETQR_IMAGE: The image of your VietQR merchant.
Run the development server:
npm run devOpen http://localhost:3000 (opens in a new tab) with your browser to see the result.
2. Deployment
Build the app:
npm run buildStart the app:
npm run start3. Bootstrap the store
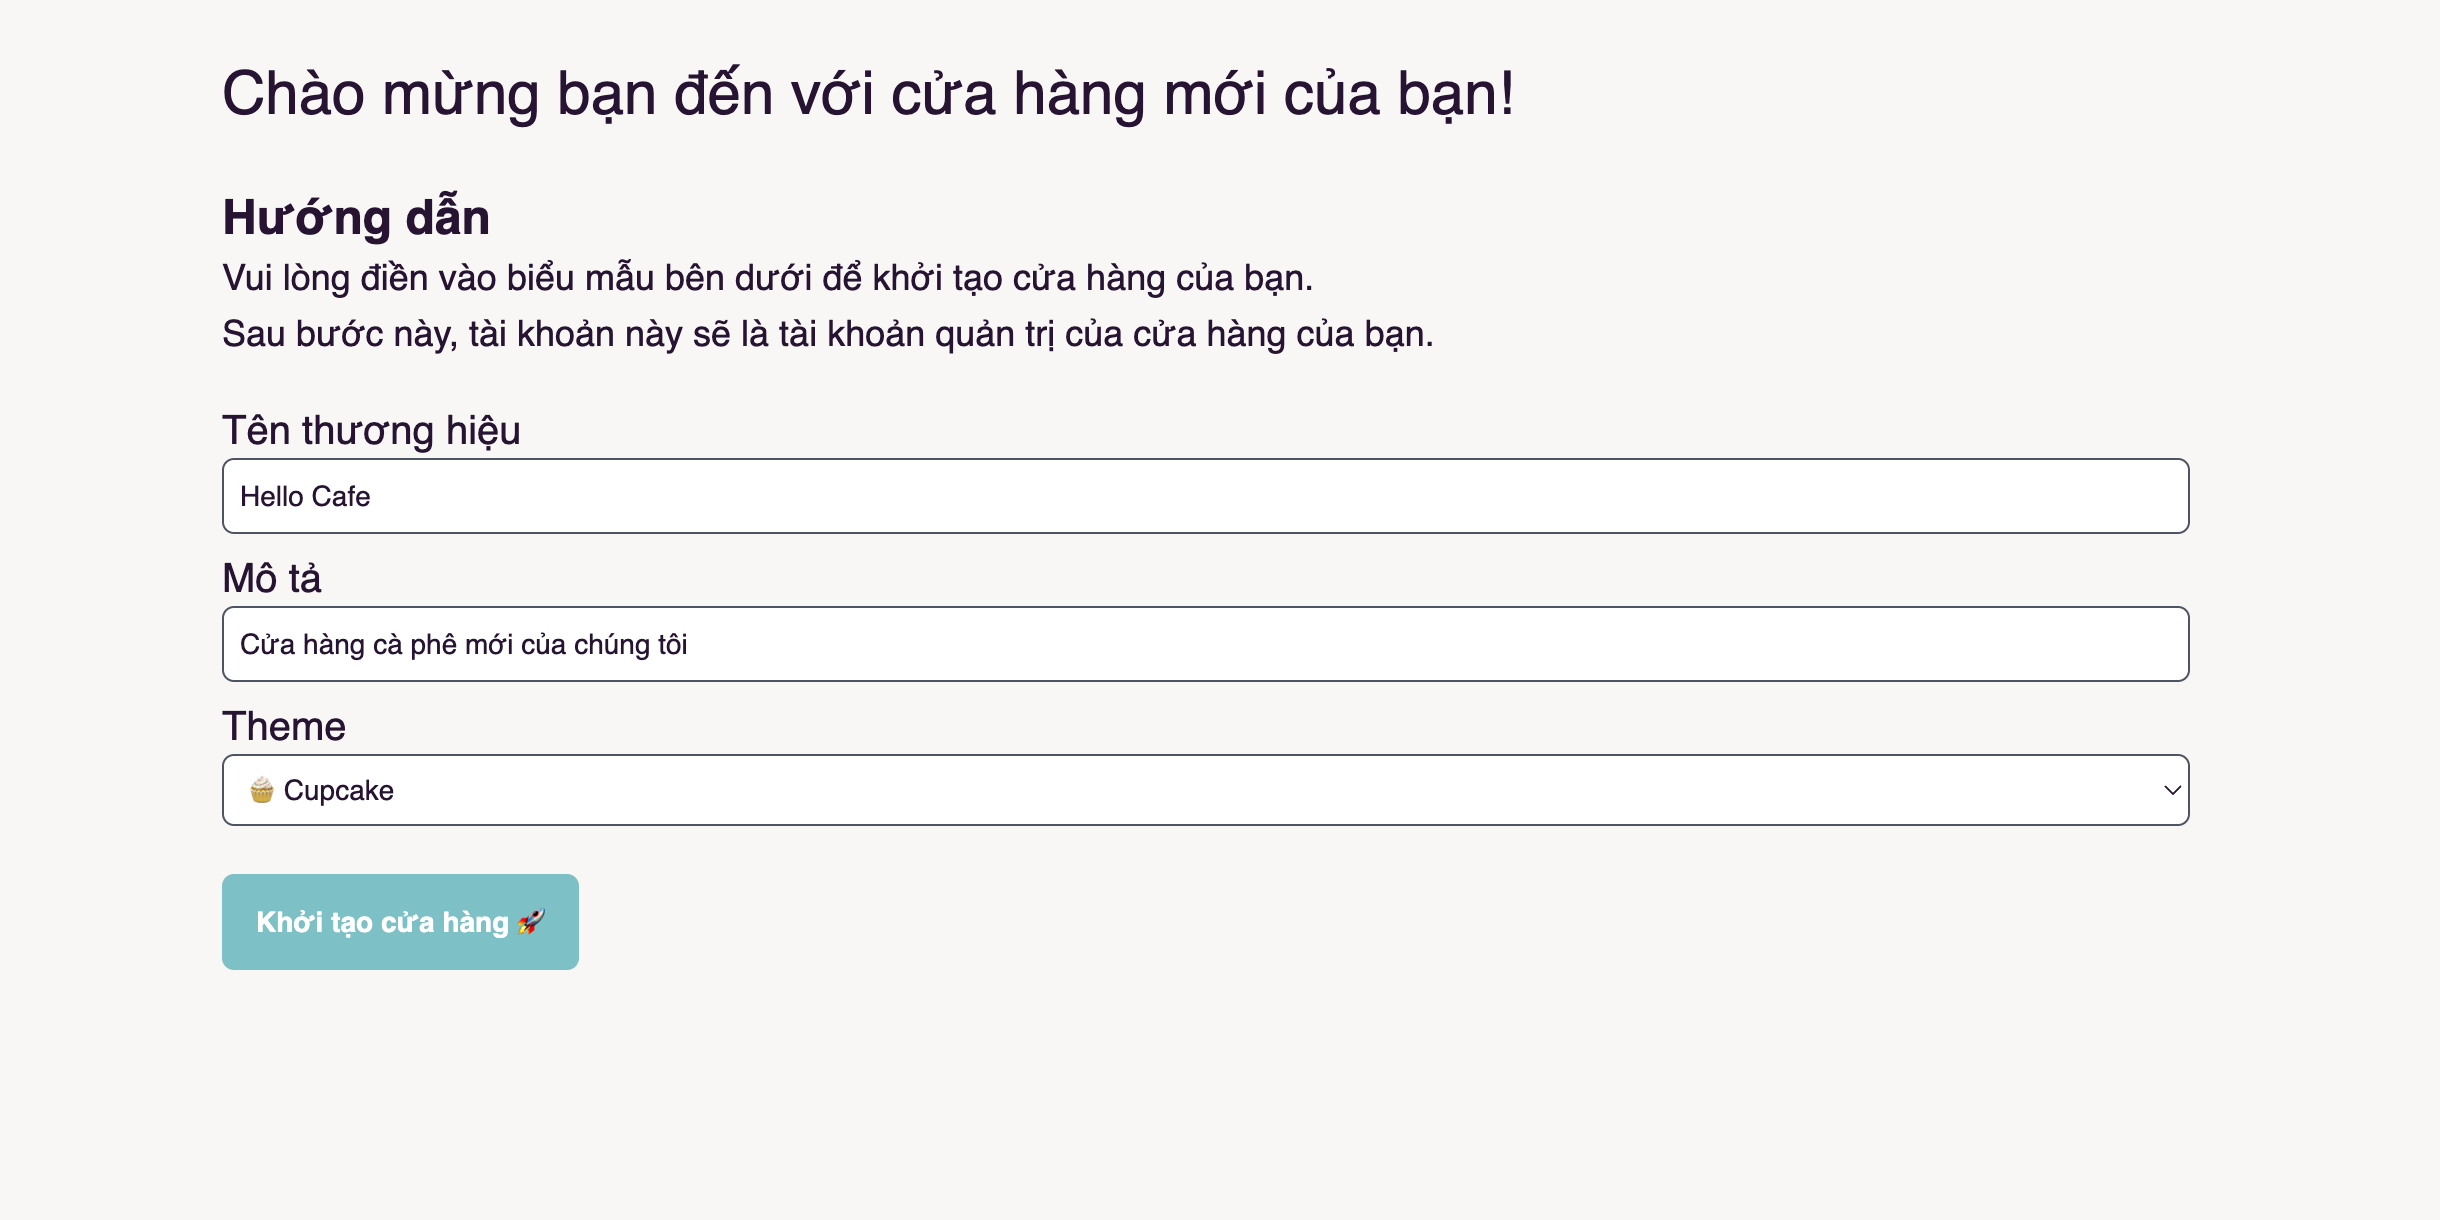
On the first access, you will be redirected to the login page. After logging in, you will be redirected to the initialization page. Fill all the information and click the Bootstrap my store button to create the store.

Note: After this step, the user will be set as an admin.